To use SalesLife for Insights and Analytics App, you must be a Sales Life customer and licensed to use the Sales Life Core Platform.
Step 1: Install the SalesLife for Insights and Analytics app from Microsoft AppSource
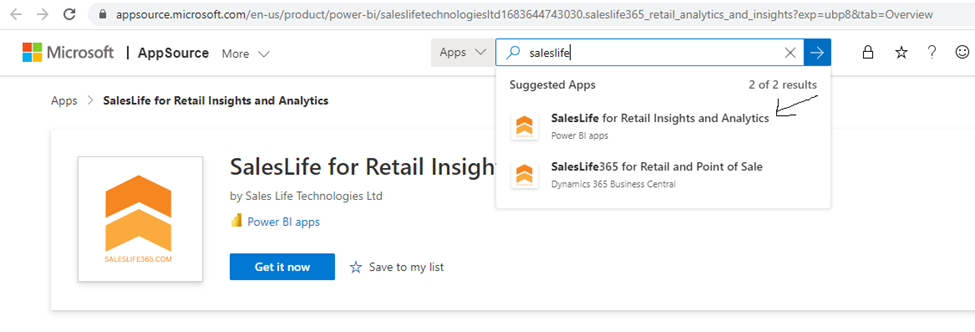
Open the Microsoft App Source and Search SalesLife > Select SalesLife for Insights and Analytics
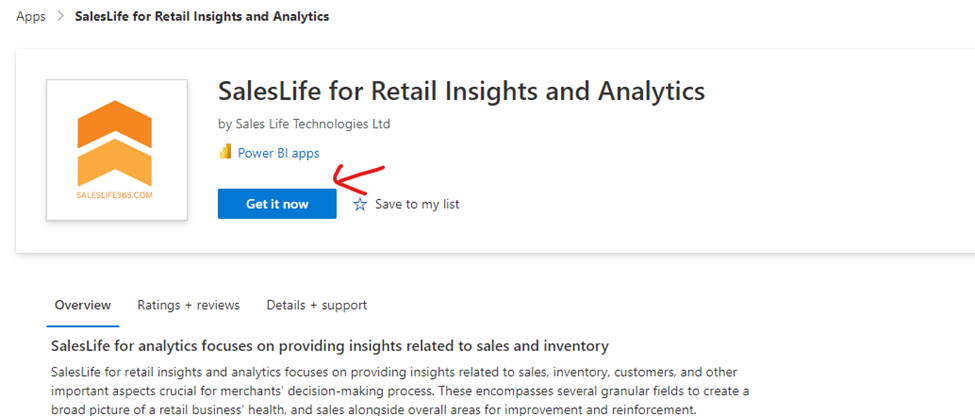
Click get it now and enter you work or school account (email address) and follow prompts.
Step 2: Update AzureAd settings on the SalesLife Core Platform App Settings
This details are provided by the deployment engineer
“AzureAd”: {
“Instance”: “https://login.microsoftonline.com/”,
“ClientId”: “<tbd>”,
“TenantId”: “<Your Tenant ID>”,
“Audience”: “<tbd>”
}
}
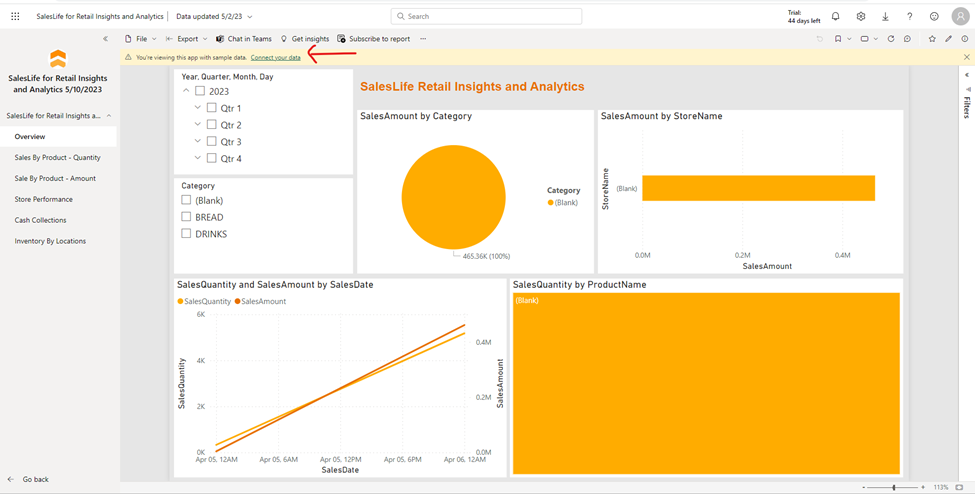
Step 3: Connect data
After installing the SalesLife for Retail Insights and Analytics Power BI App from app source, it’s time to connect your data
Click connect your data
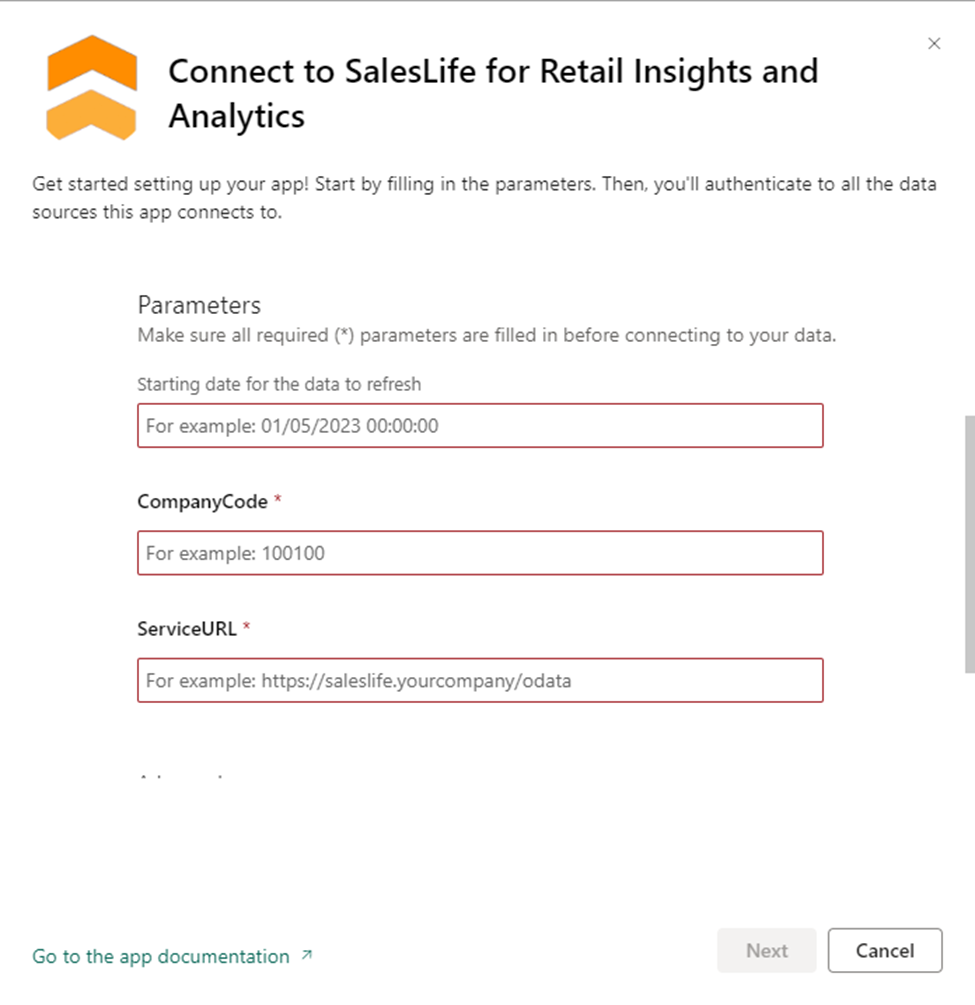
To connect to SalesLife for Retail Insights and Analytics to the data source (your SalesLife Core Platform OData Services), you need to provide three parameters.
1/ Starting date for the data refresh. This is the date from which you SalesLife data needs to be available in Power BI.
2/ Company Code. This is provided to you by the SalesLife licensing team.
3/ ServiceURL. This is your SalesLife Core Platform oData service URL. This is provided to you by the SalesLife Core Platform deployment engineer.
Click next
Choose the Authentication Method, this depends on your SalesLife Core Platform oData Service configuration and the Deployment Engineer will provide you with the credentials.

Click Sign in and connect and follow the prompts